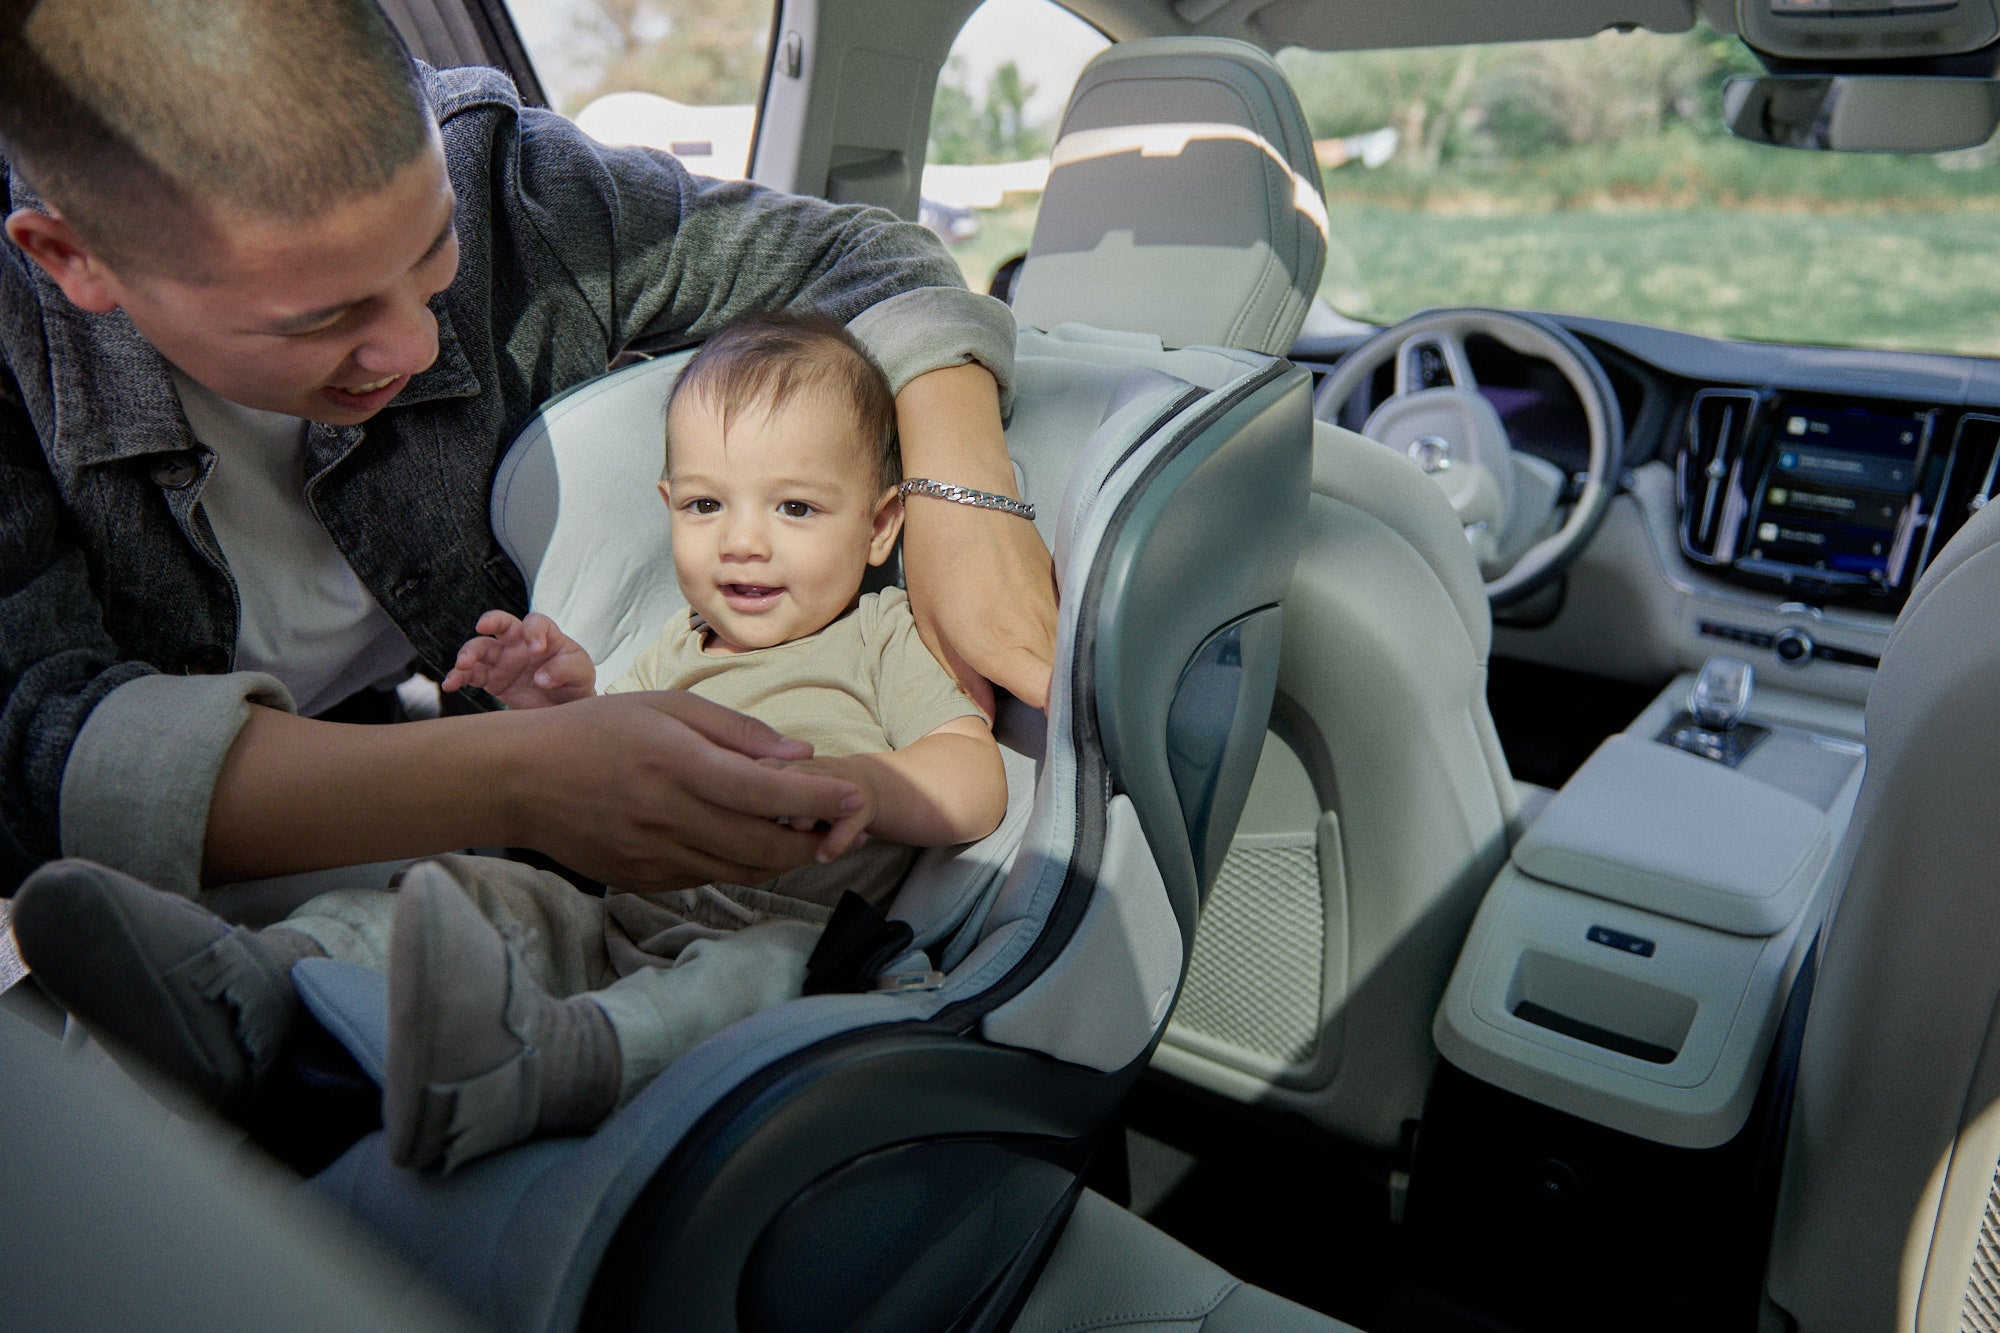
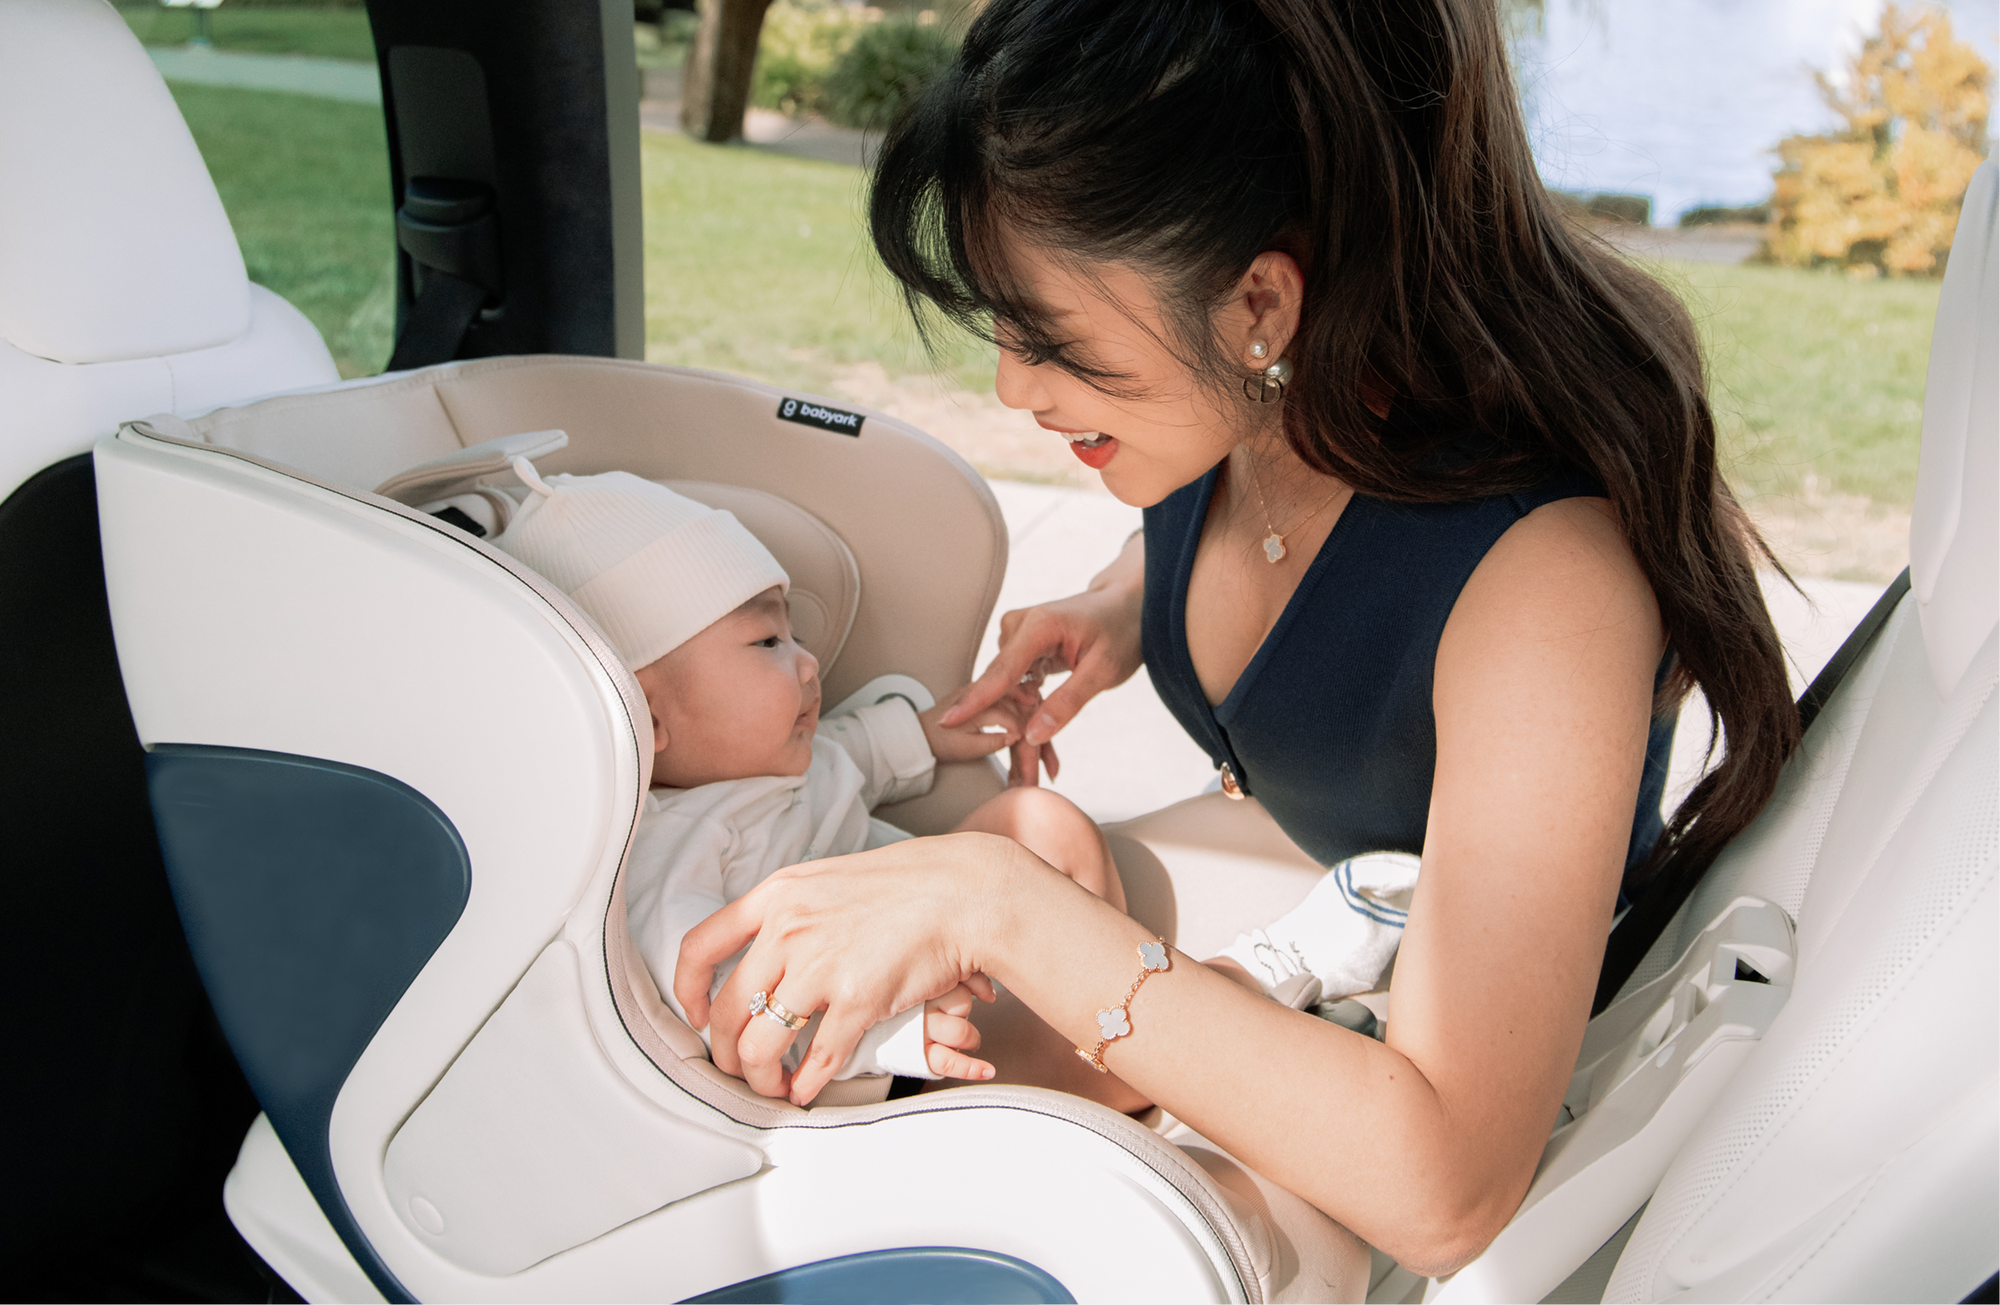
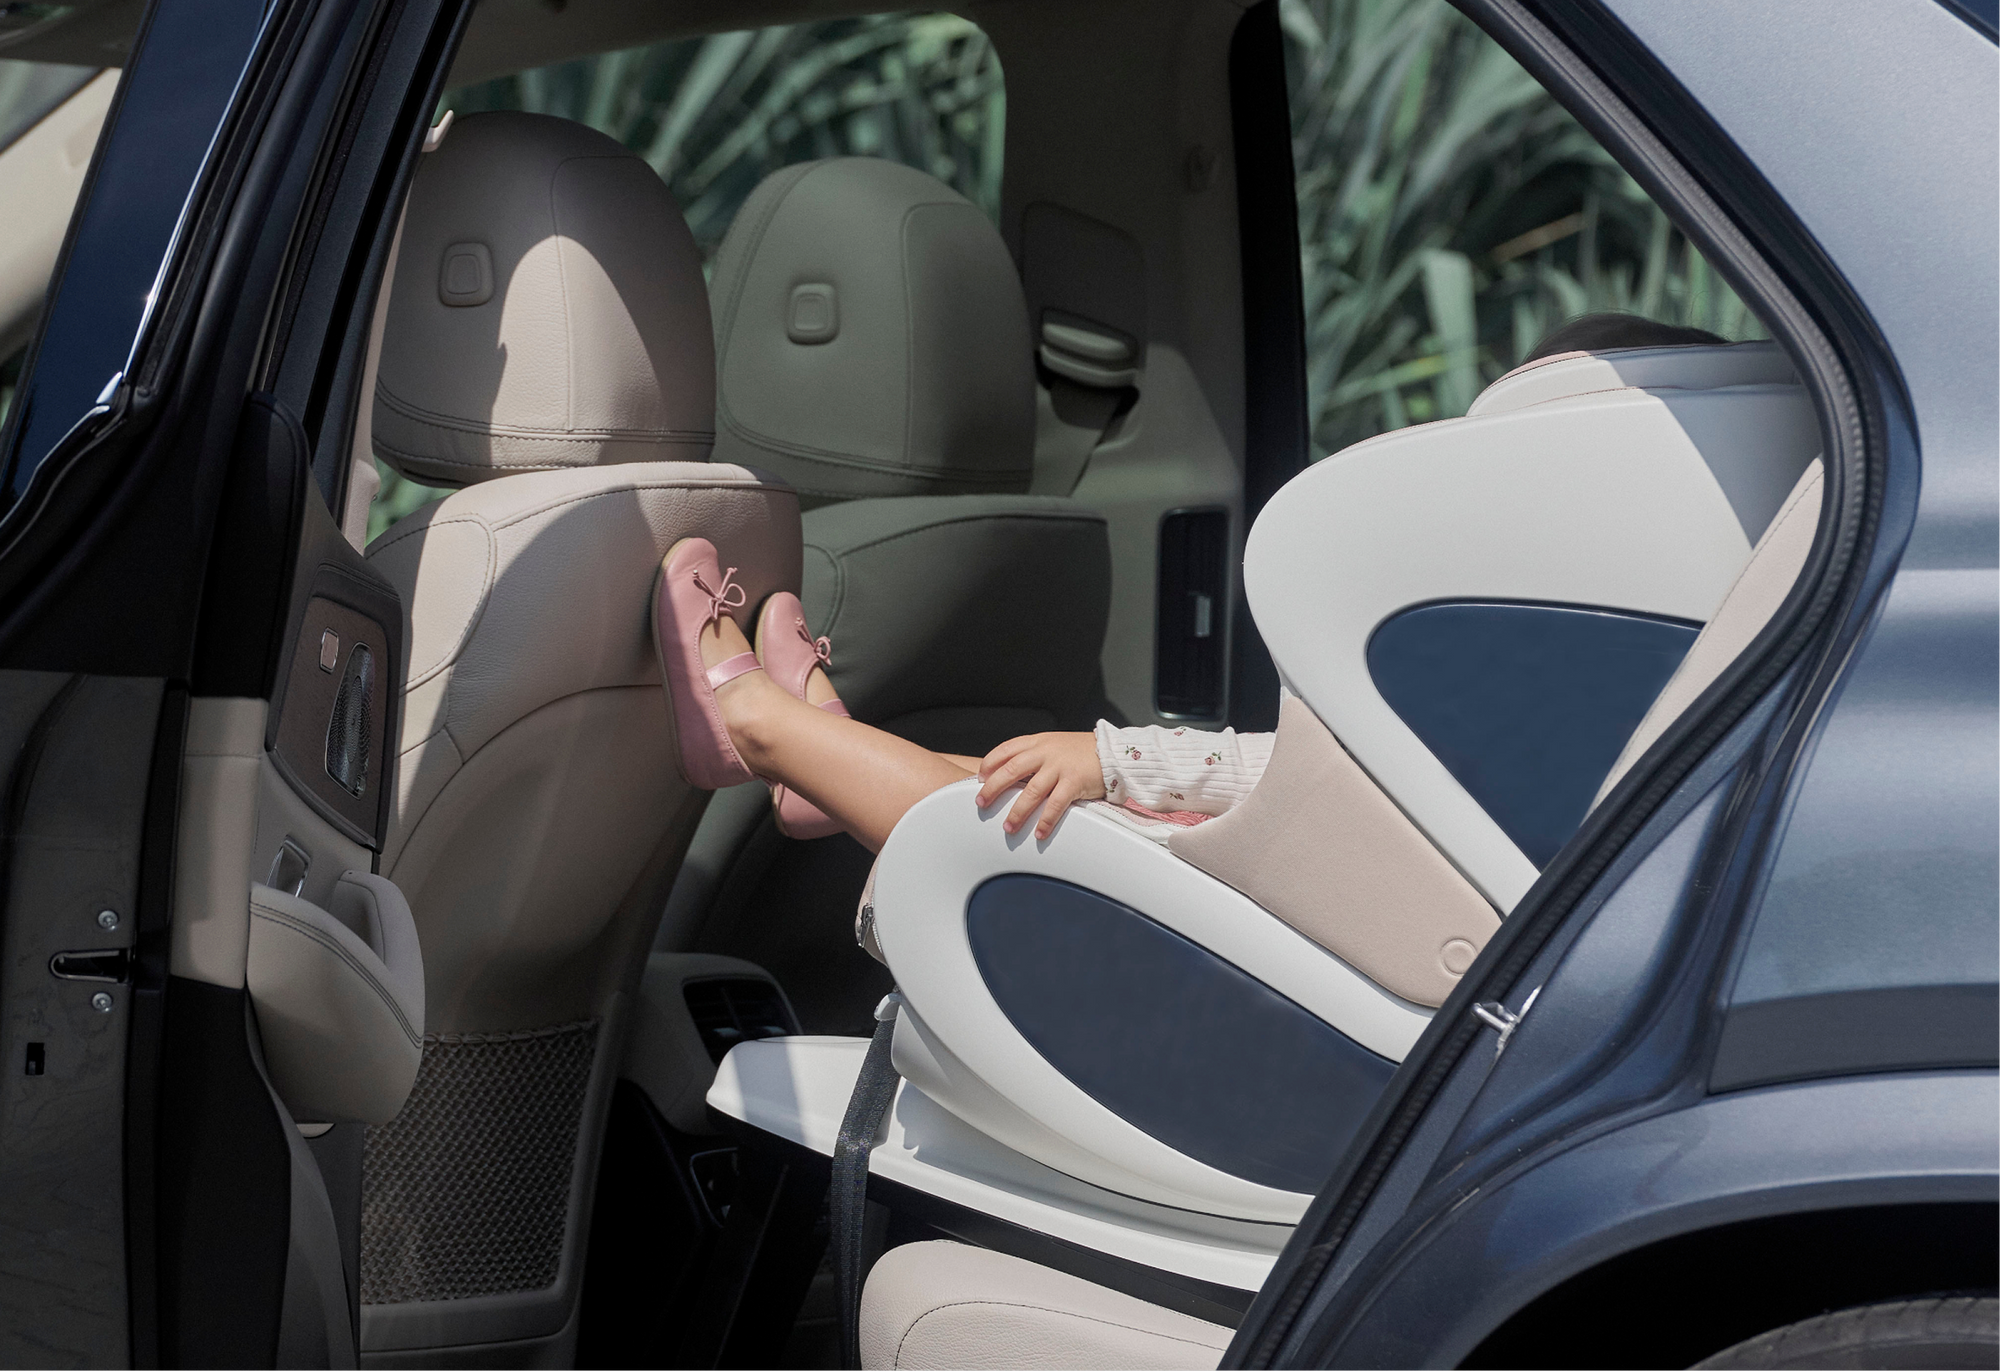
Installing a convertible car seat can feel daunting, but ensuring it’s done correctly is crucial for your child’s safety. In fact, 59% of car seats are installed incorrectly, according to the National Highway Traffic Safety Administration(NHTSA). When done properly, a car seat can reduce the risk of injury in a crash by 71% for infants and 54% for toddlers, according to the Centers for Disease Control and Prevention (CDC).
This step-by-step guide will walk you through installing a convertible car seat the right way, ensuring you avoid common mistakes and keep your child safe on every journey. Plus, we’ll highlight how babyark’s smart technology simplifies the installation process.
Step 1: Choose the Correct Car Seat for Your Child’s Age and Weight
Before you begin installing the car seat, ensure you’re using the right seat for your child’s age and weight. Convertible car seats are designed to grow with your child, typically allowing them to be rear-facing as infants and toddlers, and forward-facing as they grow older.
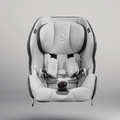
babyark’s convertible car seat can be comfortably used rear-facing for infants weighing 4 to 50 pounds and forward-facing for children weighing up to 65 pounds. Always check the weight and height limits on your seat and follow the American Academy of Pediatrics' car seat safety guidelines.
Step 2: Install the Seat Rear-Facing for Infants and Toddlers
The safest position for your child during the early years is rear-facing. Begin by placing the convertible car seat in the back seat of your car.
To install the seat:
- Follow the manufacturer's recommended installation: Attach the seat using either your car’s Lower Anchors and Tethers for Children (LATCH) system, the seatbelt, or in the case of babyark, both. It's important to ensure you're following the recommended installation of the car seat as well as looking at guidance provided in your vehicle's manual.
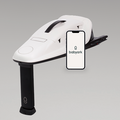
- Position the base properly: Make sure the base of the seat is flat and level. Most car seats, including babyark, have indicators to show when the seat is positioned correctly. babyark’s smart ACTV8™ base even provides real-time feedback via the babyark app to ensure the base is in the correct position. babyark also has base installation which is "one and done," which means that once you properly install the base, you don't need to re-install it even when you decide to face your child forward.
- Check the recline angle: For rear-facing seats, the angle of recline is crucial for your baby’s comfort and safety. babyark offers easy recline adjustment, ensuring your child’s head doesn’t flop forward while driving.
For more on installing rear-facing seats, refer to HealthyChildren.org’s rear-facing car seat guide.
Step 3: Install the Seat Forward-Facing for Older Toddlers
Once your child outgrows the rear-facing weight or height limit, it’s time to install the car seat forward-facing.
- Follow the manufacturer's instructions: Once again, you may be required to use the LATCH system or the seatbelt or both for forward-facing installation. Be sure to follow your vehicle’s manual and the car seat instructions.
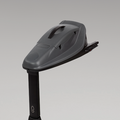
- Use the tether anchor (sometimes): For forward-facing seats, your car seat may recommend use of the top tether, which is located on the back of the seat and connects to a designated anchor point in your car. This helps reduce the forward motion of your child’s head in a crash. babyark’s SafeCoil technology along with the anti-rebound bar and support leg provide maximum stabilization and the recommended installation for babyark is without use of the top tether.
Step 4: Secure Your Child with the Harness
The harness is one of the most important components of the car seat. It keeps your child snug and secure during the ride. Follow these steps to ensure proper harness use:
- Position the harness straps: For rear-facing installation, the harness straps should be positioned at or below your child’s shoulders. For forward-facing, the straps should be at or above the shoulders.
- Tighten the harness properly: Ensure there is no slack in the harness by performing the “pinch test.” You shouldn’t be able to pinch any material between your fingers at the shoulder.
- Chest clip at armpit level: Make sure the chest clip is placed at armpit level, not lower, to prevent injuries in a crash.
Step 5: Use babyark’s Smart Features for Extra Peace of Mind
Installing a car seat is challenging, but babyark’s smart technology takes the guesswork out of the process. With 14 embedded sensors in the base, babyark’s mobile app offers:
- Step-by-step installation instructions
- Real-time feedback to ensure proper installation
- Alerts if your child isn’t buckled correctly
- Alerts if your child has been left in the car unattended
These features make babyark the ultimate car seat for tech-savvy parents who want peace of mind with every ride. Learn more about babyark’s smart features and how they enhance child safety.
Common Installation Mistakes to Avoid
- Loose installation: A properly installed car seat should not move more than an inch from side to side. If it does, verify the seat has been installed properly.
- Forgetting to lock the seat belt: In order to lock your vehicle's seat belt, pull it all the way out and then slowly feed it back through. You should hear little clicks that tell you it's in locking mode.
- The child's harness is not snug enough: Ensure the straps pass 'the pinch test'.
It's All About the Install
Installing a convertible car seat doesn’t have to be complicated. By following these steps and using babyark’s smart technology, you can ensure your child is safe and secure on every journey. Proper installation is key to minimizing injury in the event of an accident, and with babyark’s innovative SafeCoil™ technology, BioArk™ side-impact protection, and app-guided installation, you can drive with confidence.
For more information on how babyark helps parents simplify car seat safety, visit babyark.com.
